Woodworking With Grandkids: Safe Projects and Jobs by Age
The adult does the cutting before they arrive. The kids do the sanding, hammering, gluing and painting. Here is how to set it up.
Building something with your grandkids is one of the best reasons to clear out the garage. It goes well when the adult does the risky and fiddly work ahead of time and the kids get the parts that are fun and safe: sanding, hammering, screwing, gluing, painting and the big moment when it all goes together.
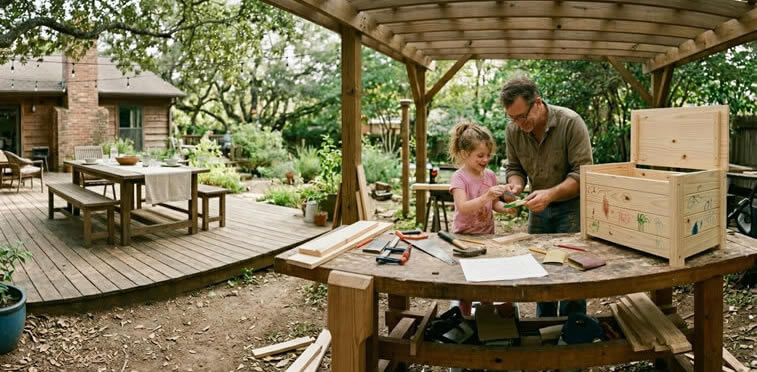
Set up the shop before they arrive
- Cut every part in advance. Sand the edges smooth so little hands don't pick up splinters.
- Put power tools away. Unplug them, remove batteries and keep blades out of reach.
- Make a kid-height work surface. A low sturdy table or a board on sawhorses works.
- Safety glasses for everyone, sized to fit a child's face. Kids who are watching wear them too.
- Keep dust down. Sand outside or by an open door, and sweep up between steps.
- Keep a first aid kit in the shop where you can reach it.
Jobs kids can do, by age
This is a rough guide. You know your grandkids, and attention span matters more than age.
| Age | Good jobs | Adult handles |
|---|---|---|
| 3 to 5 | Sanding with a block, painting, sorting screws, holding the end of the tape | Everything sharp, every fastener |
| 6 to 8 | Hammering nails the adult has started, driving screws by hand into pilot holes, gluing, marking with a square | All cutting, drilling pilot holes |
| 9 to 12 | A hand saw in a miter box on clamped work, a hand drill, measuring and assembly | All power tools, final checks |
| Teens | More of the layout and assembly, finishing | Power tools stay with the adult on our projects |
Two things help at every age. Pre-drill pilot holes so screws go in easily with a hand screwdriver, and start nails for younger kids so they only have to finish driving them. A stubby hammer is easier for small hands to control.
Projects that work
Birdhouse
Six pre-cut pieces, a few nails and a lot of paint. The adult drills the entrance hole and the drain holes; the kids sand, nail and decorate.
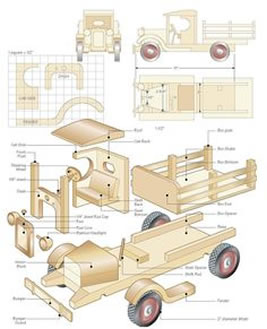
Toy truck or car
Cut the body and wheels in advance and drill the axle holes. Kids sand, glue and assemble with dowel axles. Keep parts big enough that they can't be swallowed if there are toddlers in the house.
Planter box
A small cedar box for a windowsill or the porch. Kids drive the screws by hand, then fill it with soil and seeds, which gives them a reason to come back and check on it.
Tool tote
An open box with a dowel handle, made to hold their own small tools. A good second project, because they get to use it for the third.
Step stool
A sturdy stool for reaching the bathroom sink. The adult checks every joint; the kids sand and paint, and often sign the bottom.
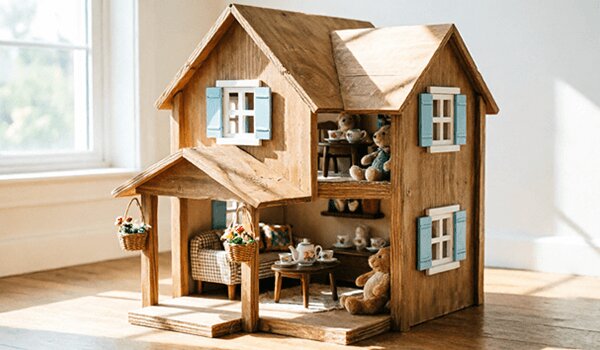
Dollhouse or toy furniture
The adult builds the structure over a few evenings. The kids paint rooms, add trim pieces with glue and furnish it. It becomes a project that lasts weeks, not hours.
How to run the session
- Show them the finished idea first. A photo, a sketch or one you built earlier. Kids work better when they can see where it is going.
- Explain the one rule before anyone picks up a tool: the power tools are the adult's, and they stay put away.
- Hand out one job at a time. Sand these two pieces, then we glue. Long lists of steps lose younger kids fast.
- Let them make real choices. The paint color, where the handle goes, what the birdhouse is called. It becomes their project, not yours.
- Keep it short. Stop while it is still fun, even if the project isn't done. Glue and paint need drying time anyway, which makes a natural break.
- Clean up together and put every tool back where it lives. It teaches respect for the shop and makes the next session easier to start.
Expect crooked nails and paint where it shouldn't be. A project that looks like a kid built it is the point. If a joint really matters for safety, like a step stool, the adult checks it and fixes it before the stool is used.
Wood and finishes for kids' projects
- Use plain wood. Pine, poplar and cedar are easy to sand and paint. Skip pressure-treated lumber for toys and anything handled a lot indoors; it is made for outdoor and ground-contact use.
- Round every edge with sandpaper before kids touch the parts.
- Read the finish label. Use a finish whose label says it suits the use, and let it cure for the full time on the can before the project is played with.
The adult's prep checklist
- Every part cut, edges sanded, holes drilled.
- Power tools unplugged, batteries out, blades put away.
- Safety glasses that fit each child.
- Pilot holes drilled and nails started for the youngest helpers.
- Glue, paint and brushes set out on a covered table.
- A plan to finish in one session, or a clear stopping point.
- A pencil for signing and dating the bottom when it is done.
If you're looking for the reason to start, read The Weekend Project That Gets a Grandfather Back in His Garage.